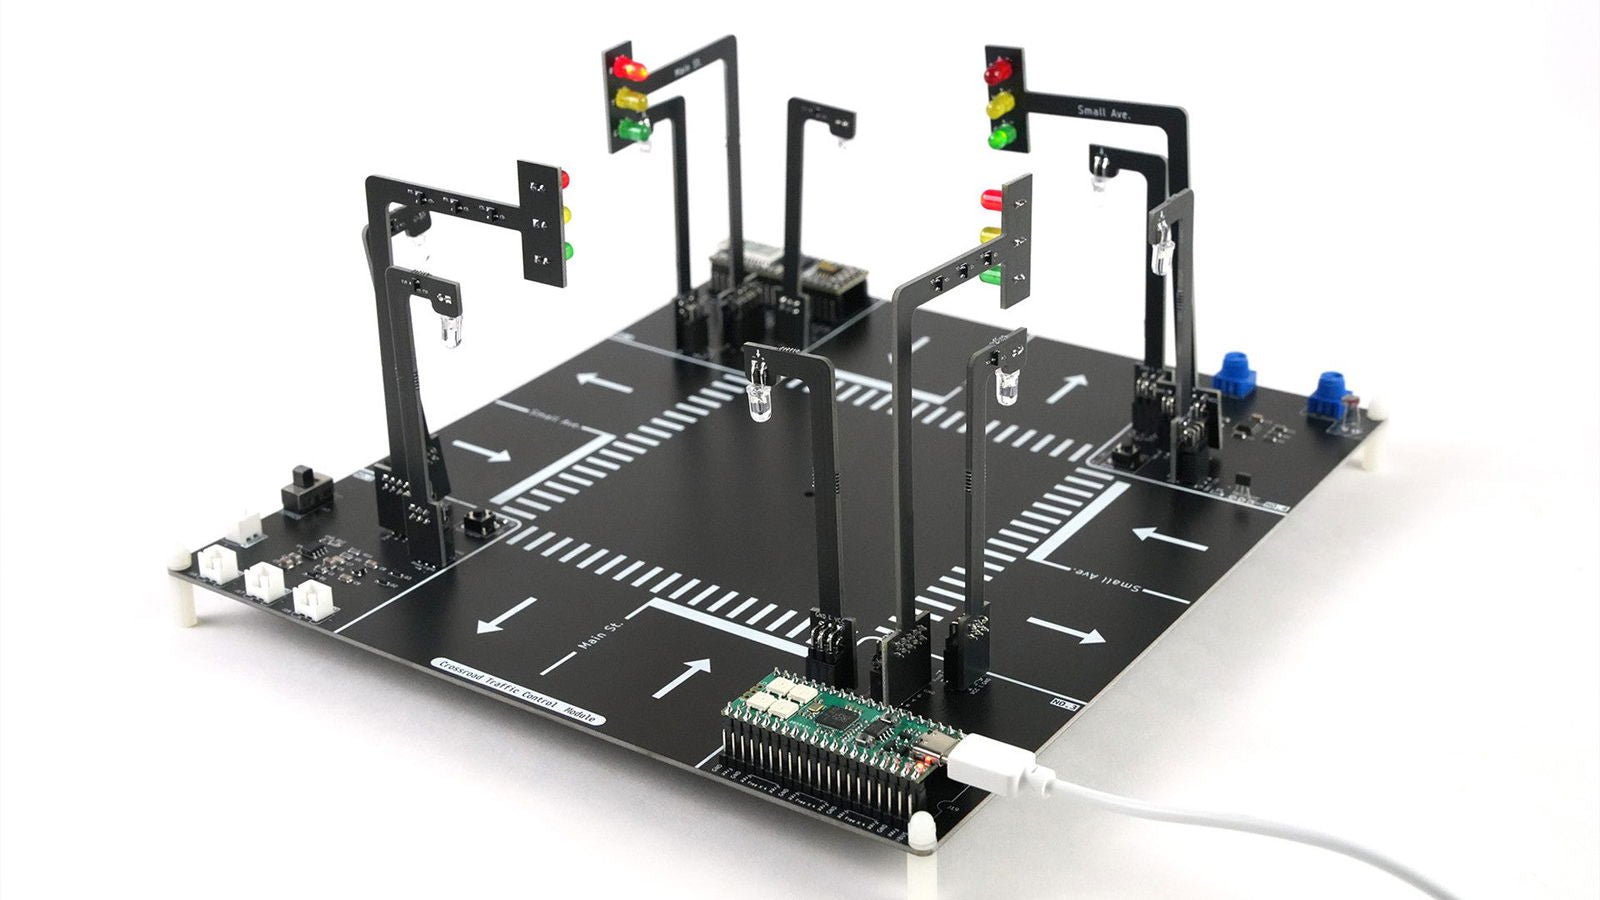


Traffic Light Module ft. Raspberry Pico Microcontroller, FPGA
In Traffic Light Control System project, you'll progress through multiple learning phases and develop a perspective shaped mindset with the tangible hardware that embodies the elegance of modern electronics. If you are interested or have learned soldering, microcontroller and FPGA, this is a great project to kick off.
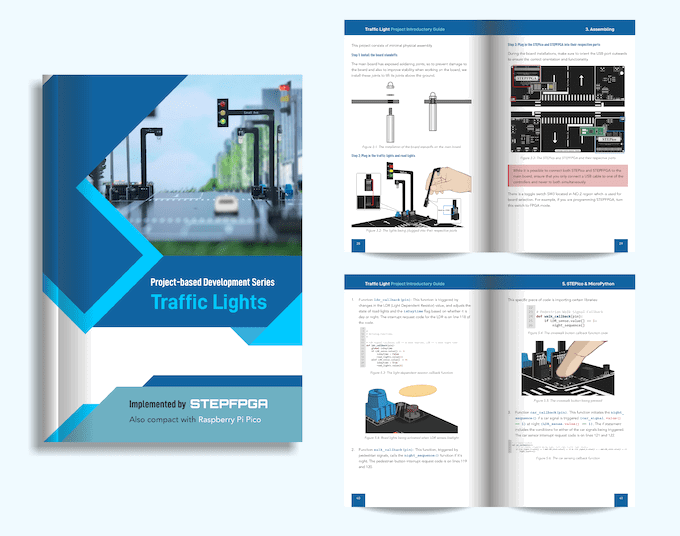
A Microcontroller Meets an FPGA
Note: This kit will include a Raspberry Pi Pico - STEPico rp2040 microcontroller, STEPFPGA needs to be purchased separately.


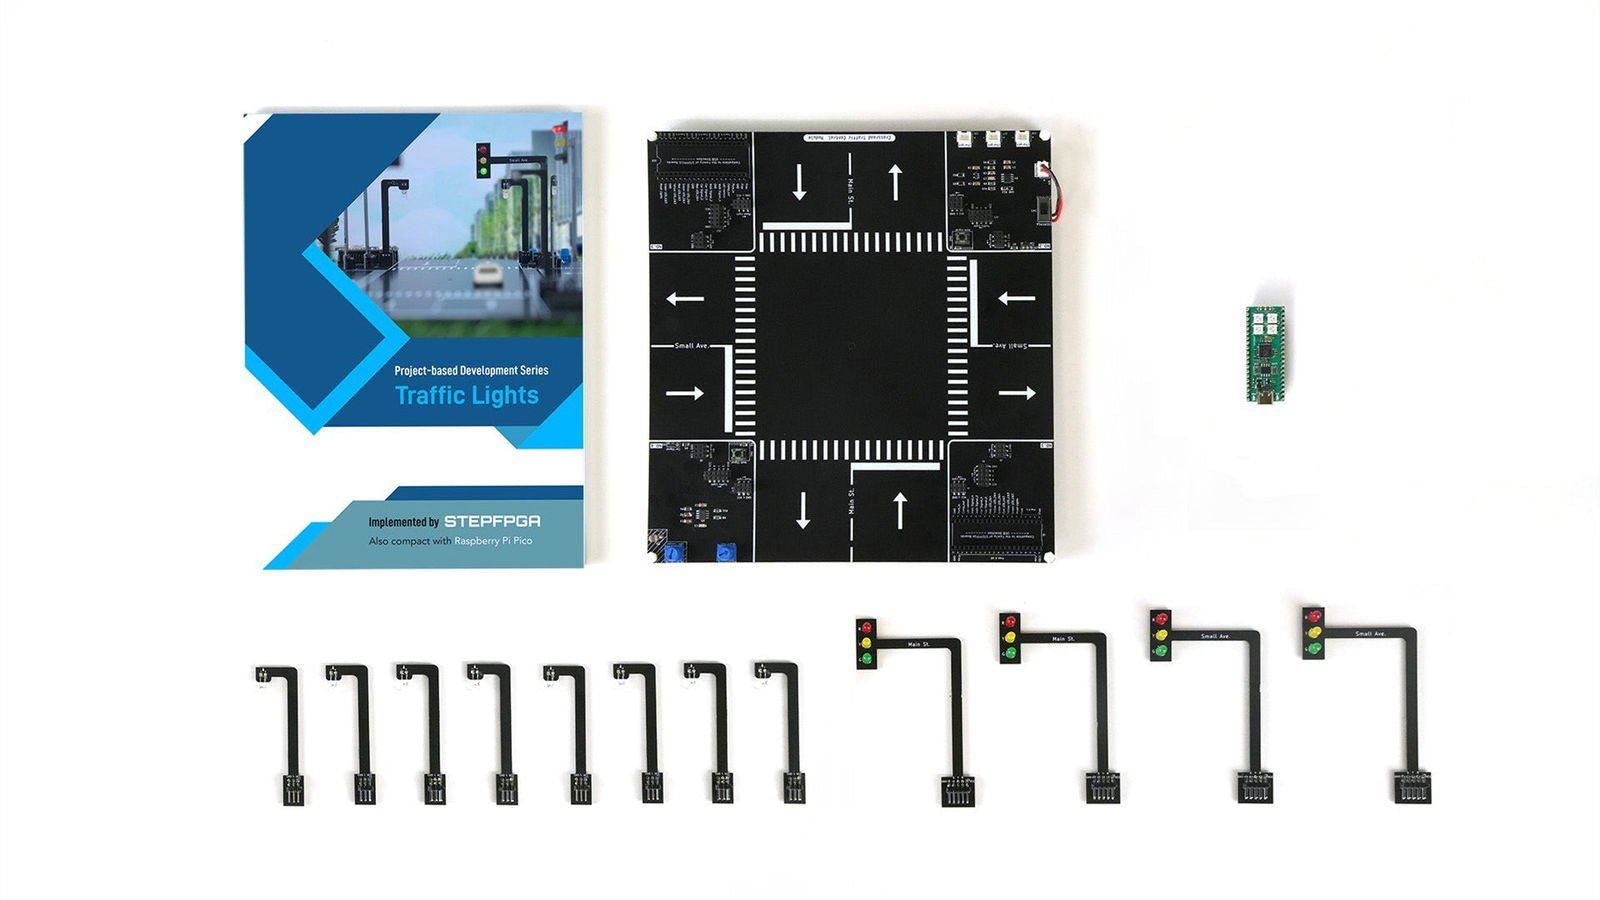
The Complete Hardware

- STEPico microcontroller x 1
-
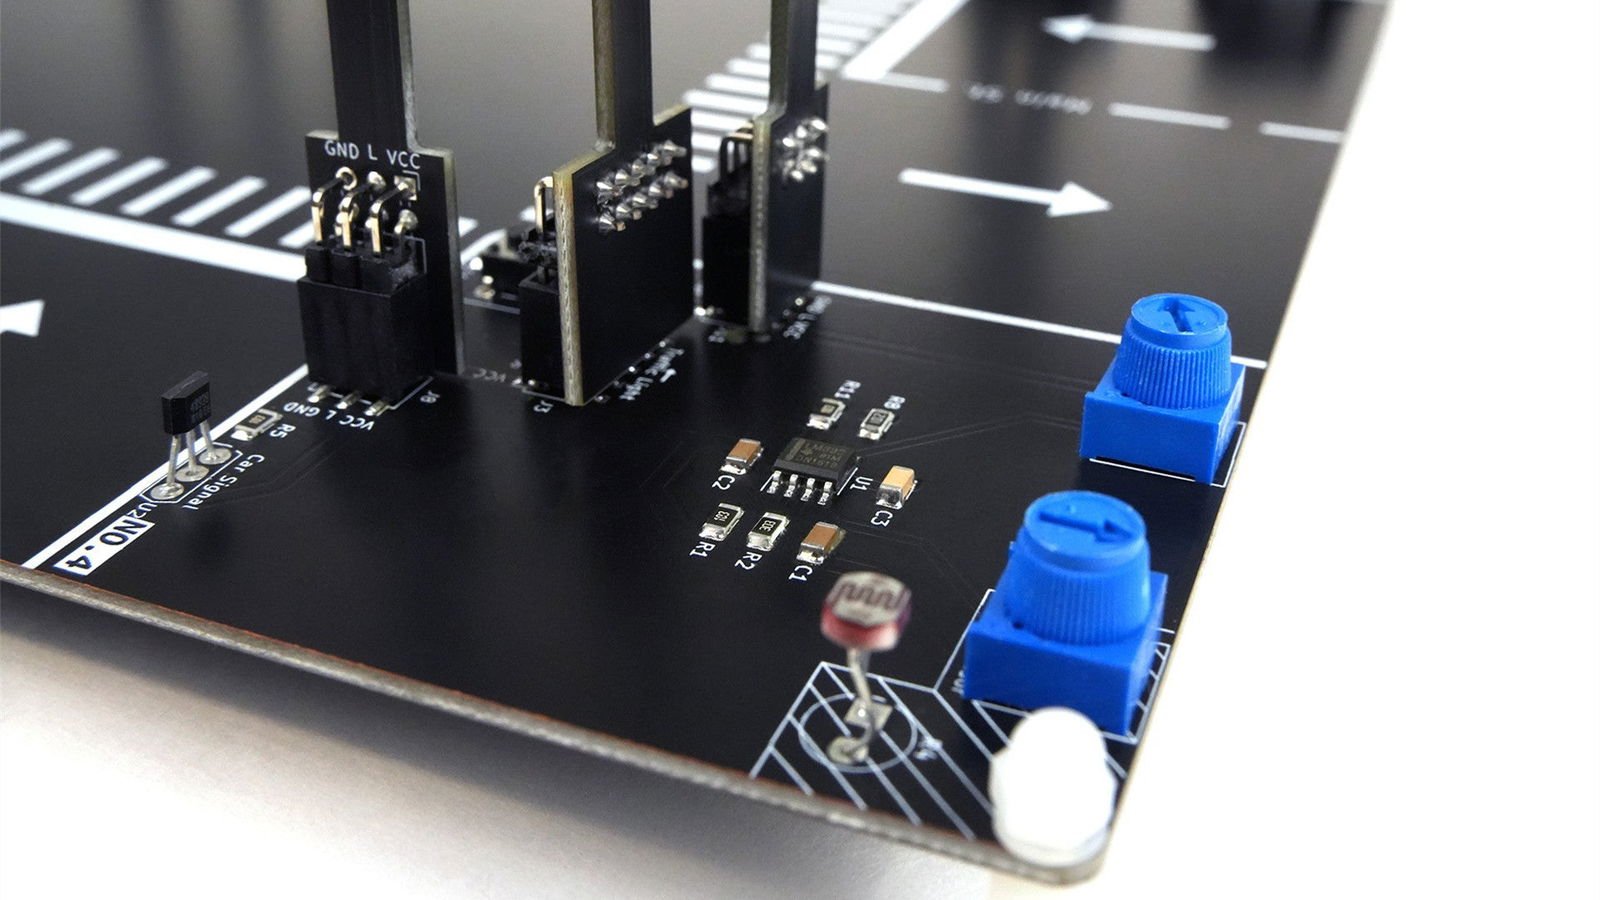
Traffic Lights Project BoardMainboard (pre-assembled components) x 1
- Traffic lights x 4, the 12 LEDs come in un-assembled pieces so you need to solder them
- Road lights x 8, the 8 LEDs come in un-assembled pieces so you need to solder them
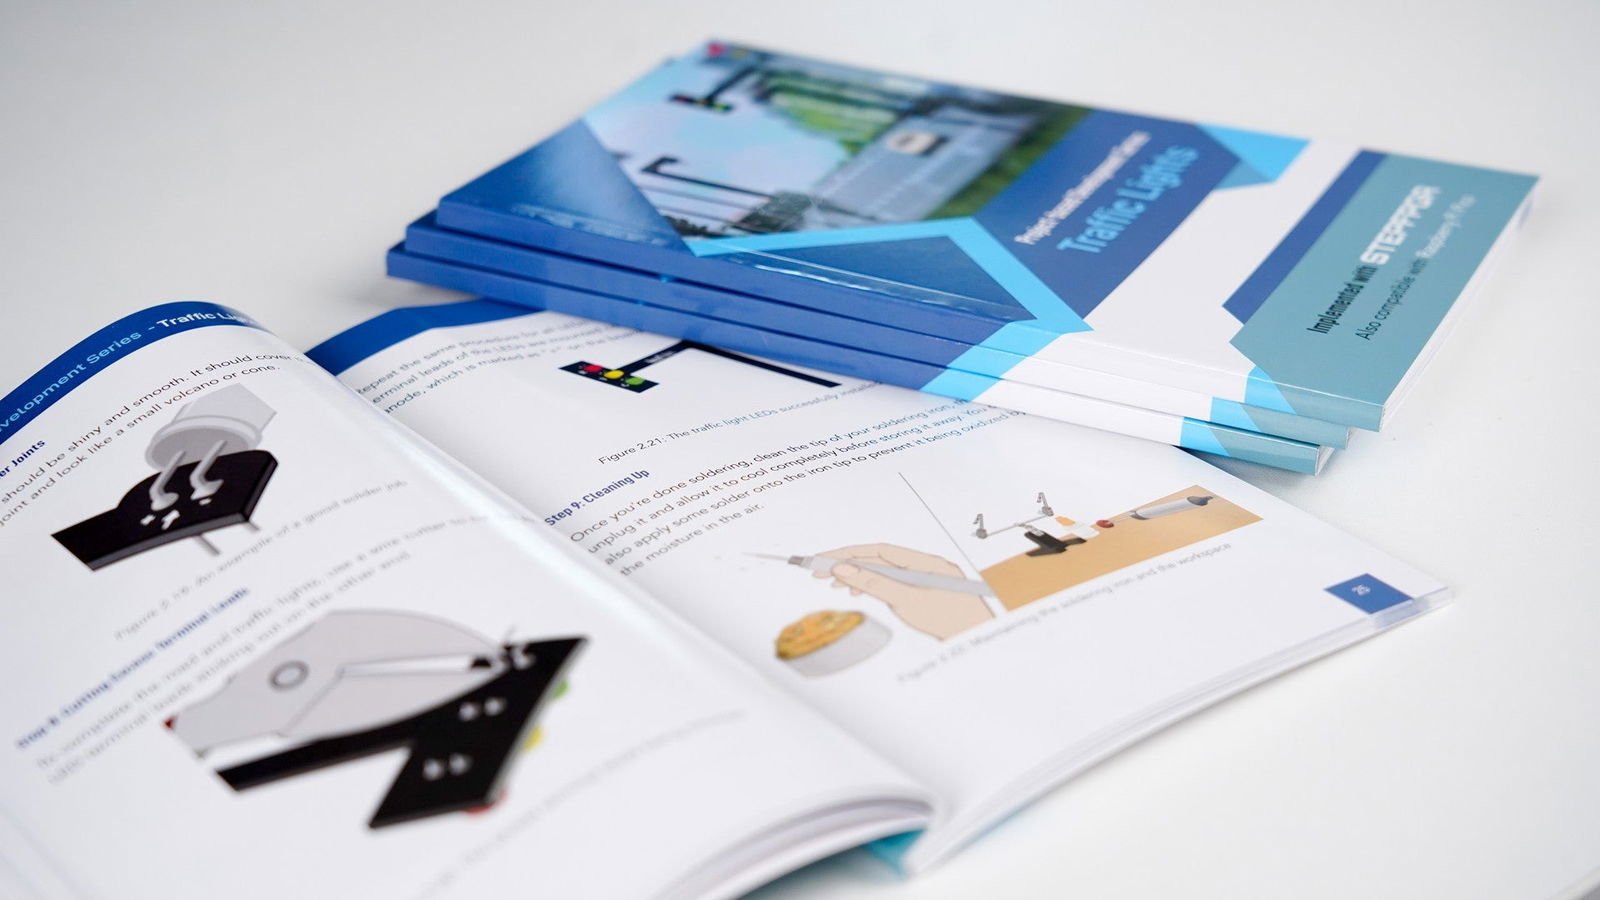
- Tutorial Book x 1, all the soldering, microcontrollers, and FPGA knowledge you need to build the project
- Support: Documentation and More
A Tutorial Book
As a big part of the learning process, we will include a 70-page detailed tutorial with great illustrations to walk you through the assembly process and also cover more advanced topics such as microcontroller, micro python coding and working principles of some electronics components and sensors.


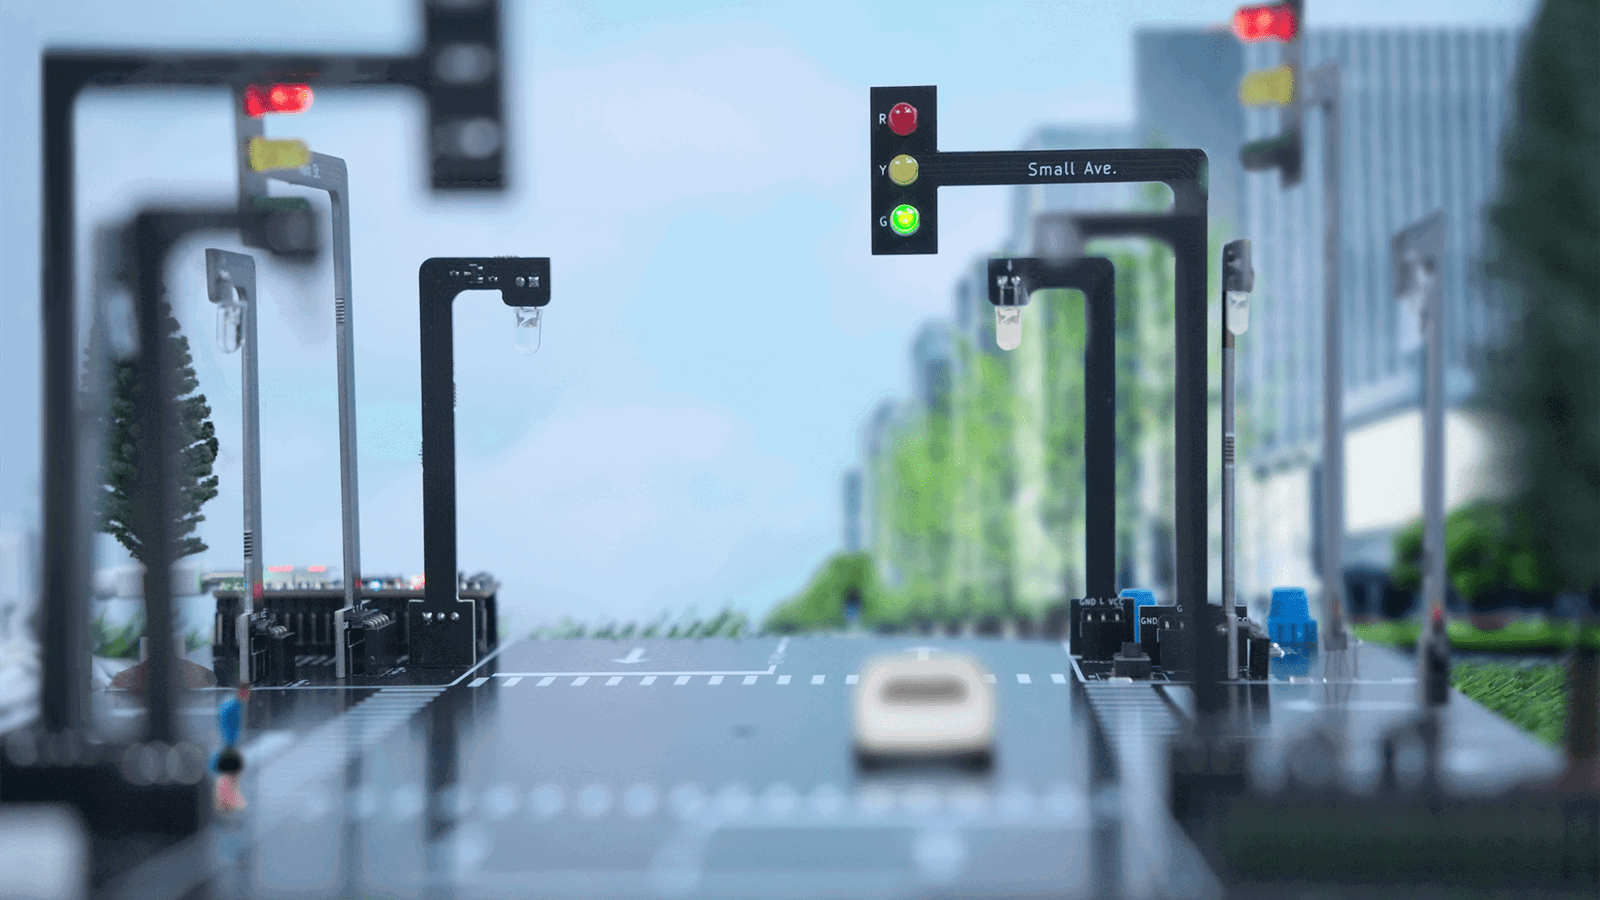
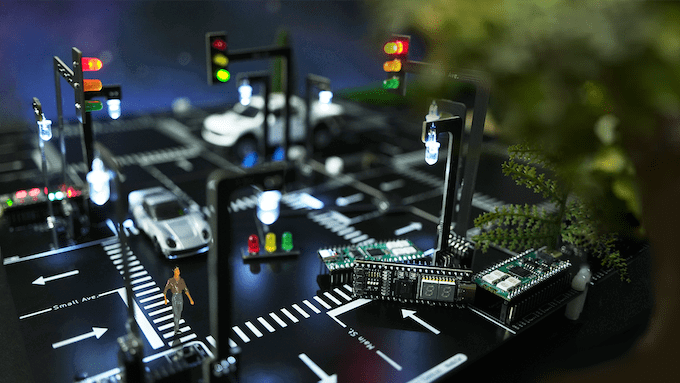
The Learning Part You might not think about it since it’s so ubiquitous, but a lot of technology and engineering goes behind the traffic light modules. In this learning kit, we will introduce you to the technology that powers them.


Level 1: Soldering
The majority of parts on the board have been pre-assembled to ensure the functionality of the main board. But you will still need to attempt an introductory level soldering task (20 LEDs with though-hole pins) to complete the entire project. Getting your hands dirty is always the first step in learning. If you are looking for a beginner-friendly soldering kit, please check "SparkTip - Rechargeable Soldering Iron Kit".

Level 2: Microcontroller and Python
Once your board hardware has been completed, it's time to explore how each component, sensors and LEDs interface with each other, and the best tool to appreciate all the controls is through a Microcontroller. In the project, we use Raspberry RP2040-based microcontroller, and in the tutorial we have two sections that provide walk-through codes, guiding you through the foundational steps and acquainting you with microcontroller configurations and micro-Python programming.

In the highest-level learning program, we introduce FPGA. This hardware provides flexibility, high-speed processing capabilities, and customization for advanced control and management in traffic light systems. This part will be implemented by the STEPFPGA board, which is also available in our store.

Check our FPGA board for beginners which is easy to program and configure. Coding is so easy that a grade 8 student can to start developing using our FPGA Board